
Blog
What is the 3:1 Rule for Mics?

A Guide to Cleaner Studio Recordings
When setting up a professional recording studio or a DIY home setup, you might have heard engineers mention the “3:1 Rule.” But what exactly is it, and why is it crucial for achieving that high-end, phase-accurate sound?
Understanding the 3:1 Rule
In simple terms, the 3:1 rule is a technique used to prevent phase interference (comb filtering) when using multiple microphones to record the same sound source.
The rule states: > For every unit of distance between a microphone and its sound source, the distance between that microphone and any other nearby microphone should be at least three times that distance.
For example, if Microphone A is 1 foot away from a singer, Microphone B should be at least 3 feet away from Microphone A.
Why Does This Matter for Your Studio?
If microphones are placed too close together, the sound reaches them at slightly different times. When these signals are mixed, certain frequencies cancel each other out, resulting in a thin, “hollow” sound.
Whether you are using a professional large diaphragm condenser microphone for vocals or miking up a guitar cab with multiple DIY microphone kits, following this rule ensures:
- Phase Coherence: Fuller, more natural audio.
- Reduced Bleed: Cleaner tracks that are easier to mix.
- Professional Clarity: The same quality you expect from high-end boutique mics.
Pro Equipment Makes the Difference
At DIY-Microphone.com, we know that even the best placement can’t save a poor-quality sensor. To get the most out of the 3:1 rule, you need equipment with consistent polar patterns.
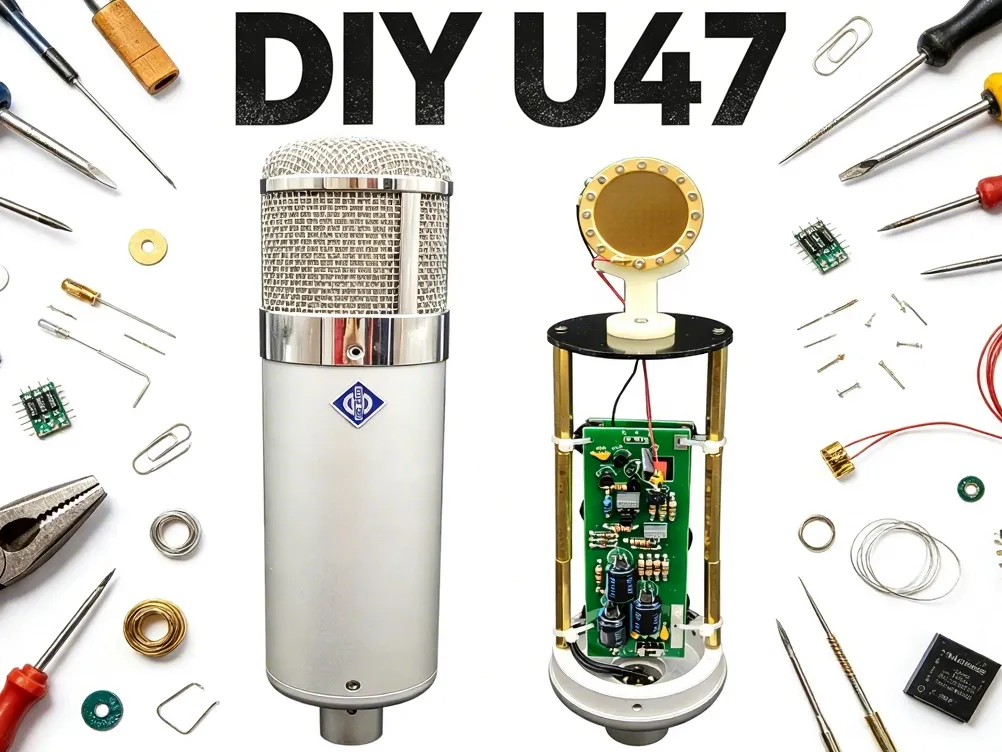
- Premium Capsules: Our 34mm gold sputtered capsules (like our K47 and M7 styles) offer precise cardioid patterns that help reject off-axis sound, making the 3:1 rule even more effective.
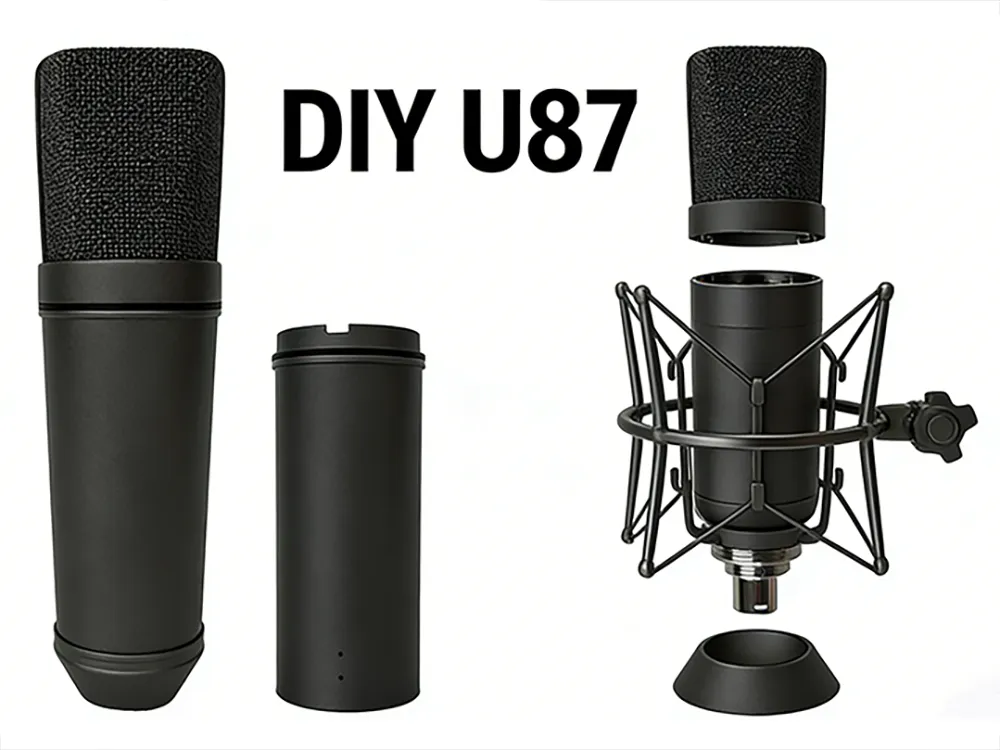
- Stable Shock Mounts: Using a heavy-duty microphone shock mount ensures your mics stay exactly where you place them, maintaining that critical distance during long sessions.
- High-End Circuits: Our FET microphone circuit boards and mic preamps ensure that the clean signal captured by your placement remains pristine all the way to your interface.
Summary Checklist for Better Recordings:
- Measure Twice: Keep the 3:1 ratio in mind for drum overheads and acoustic guitars.
- Quality First: Use high-quality XLR microphone cables to prevent signal degradation.
- DIY Edge: If you are building your own gear, check out our U87 style housings and DIY mic kits to get world-class sound at factory-direct prices.
Ready to upgrade your studio? Visit www.diy-microphone.com for the best in microphone parts, capsules, and professional studio gear.