
Blog
How to Choose your first DIY Microphone Kit?

A geginner’s Guide
So you’ve decided to build your own microphone – congratulations! Whether you’re a podcaster, musician, or audio enthusiast, assembling your own studio microphone is a rewarding way to gain pro-level sound without the pro-level price tag.
But with so many kits and components available, where do you start?
This guide will walk you through the key factors to consider when choosing your first DIY microphone kit, so you can confidently begin your journey into hands-on audio.
1. Define Your Goal
Before browsing kits, ask yourself:
What will I record most?
– Vocals → Look for large-diaphragm capsule kits (e.g., 34mm)
– Acoustic instruments / overheads → Consider small-diaphragm or versatile multi-pattern kits
– Field recording / ambient sound → Omnidirectional or stereo kits may be idealWhat’s my skill level?
– First-time builder → Choose a complete, well-documented kit with pre-soldered components if available
– Experienced with soldering → You can opt for more advanced circuit boards and customization
2. Understand the Core Components
Every condenser microphone kit consists of these essential parts:
| Component | What It Is | Why It Matters |
|---|---|---|
| Capsule | The “ear” of the mic – converts sound to electrical signal | Determines tonal character, sensitivity, and noise performance |
| Circuit Board | The “brain” – amplifies the signal and provides power | Affects gain, impedance, and overall sound clarity |
| Power Supply | Usually 48V phantom power (or external supply for tube mics) | Must match your audio interface or mixer |
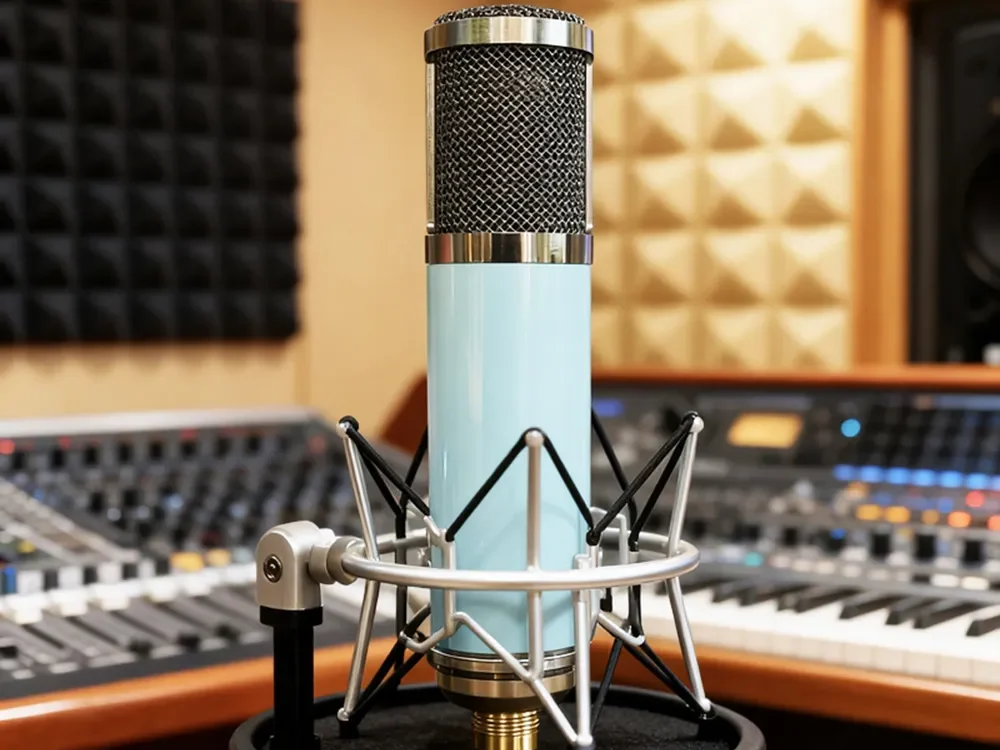
| Body / Housing | Metal or wooden shell that holds everything together | Affects durability, aesthetics, and internal acoustics |
| Accessories | Shock mount, cable, pop filter, etc. | Improve usability and recording quality |
3. Key Features to Compare
A. Capsule Size & Type
Large-diaphragm (≥34mm): Warmer, fuller sound; ideal for vocals
Small-diaphragm (≤25mm): More accurate, detailed; great for instruments
Gold-sputtered vs. standard: Gold often offers lower noise and extended high-end response
B. Circuit Design
FET (Solid-state): Reliable, low-maintenance, modern sound
Tube (Valve): Vintage warmth and harmonic richness; requires external power supply
Transformer vs. transformerless: Transformer output often adds subtle color and depth
C. Polar Pattern
Cardioid (most common): Picks up sound from the front, rejects rear noise – perfect for solo vocals
Multi-pattern (cardioid/omni/figure-8): More versatile but often more complex to build
Omnidirectional: Captures all directions – great for room ambiance or group recordings
D. Documentation & Support
Look for kits with clear step-by-step guides, video tutorials, and schematic diagrams
Check if the seller offers technical support – this is invaluable for first-timers
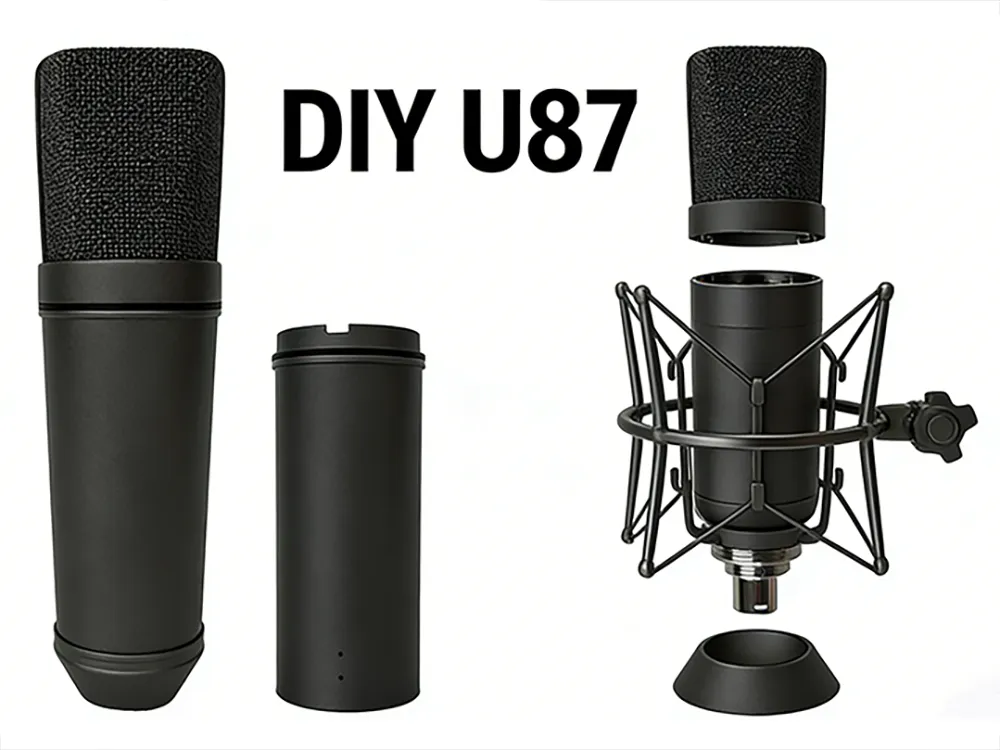
4. Recommended Starter Kits
| Kit Profile | Best For | Skill Level | Approx. Build Time |
|---|---|---|---|
| HTT-U47-FET Kit | Vocals, streaming, podcasting | Beginner to Intermediate | 3–5 hours |
| HTT-U87-3 Classic Tube Mic Kit | Warm vocal & acoustic recording | Intermediate | 6–10 hours |
| N84 or R01 Small-Diaphragm Stereo Pair | Acoustic guitar, piano, drum overheads | Beginner | 2–3 hours each |


5. Budget & Tools
Typical Kit Price Range:
Entry-level: $80 – $150
Mid-range (premium components): $150 – $300
High-end (tube/transformer designs): $300 – $500+
Essential Tools You’ll Need:
Soldering iron and solder
Screwdrivers (Phillips and flathead)
Wire cutters/strippers
Multimeter (for testing)
Clean workspace with good lighting
Tip: Some kits offer optional “tool bundles” – perfect if you’re starting from scratch.
6. Common Pitfalls to Avoid
❌ Choosing an overly complex kit for your first build – Start simple, then upgrade later.
❌ Skipping the instructions – Read through the entire guide before soldering anything.
❌ Ignoring power requirements – Ensure your audio interface provides 48V phantom power if needed.
❌ Forgetting about accessories – A good shock mount and pop filter dramatically improve results.
7. Your Next Steps
Browse kits with your goal in mind (e.g., “vocal recording DIY kit”).
Read customer reviews – especially those with photos of completed builds.
Confirm what’s included – some kits require separate purchase of body or power supply.
Prepare your workspace – gather tools and clear a static-free area.
Join a community – forums like DIY Audio or Reddit’s r/audioengineering are great for support.
“The best first kit is the one that matches your voice, your skills, and your curiosity. It’s not just about building a microphone – it’s about understanding how sound becomes signal, and how you can shape that journey.”
Ready to begin?
Explore our curated Beginner-Friendly Kits or contact us for personalized recommendations. Your studio sound – built by you, tuned by you – starts here.