

Blog
Studio Condenser Microphone User Manual & Setup Guide | MaiAo

Studio Condenser Microphone User Manual & Setup Guide
Welcome to the official user manual and setup guide for MaiAo Industrial studio condenser microphones. This guide applies to our professional studio microphone series, including the DIY U47 Tube Microphone (U47-3), the U47 FET Studio Condenser Microphone, and the U87 Large Diaphragm Condenser Microphone (U87-3), as well as 251, TF11, and custom DIY microphone builds.
1. Technical Specifications & Package Contents
| Specification | Technical Details |
|---|---|
| Polar Pattern | Cardioid (Heart-shaped directional pickup) |
| Power Requirement | +48V Phantom Power Supply |
| Frequency Response | 25Hz – 20kHz |
| Output Connector | Standard 3-Pin XLR Male |
| Body Construction | Heavy-Duty All-Metal Machined Body & Steel Grille |
| Standard Package | Studio Microphone × 1, Custom Shock Mount × 1, Protective Storage Case × 1 |
2. Step-by-Step Installation & Setup Instructions
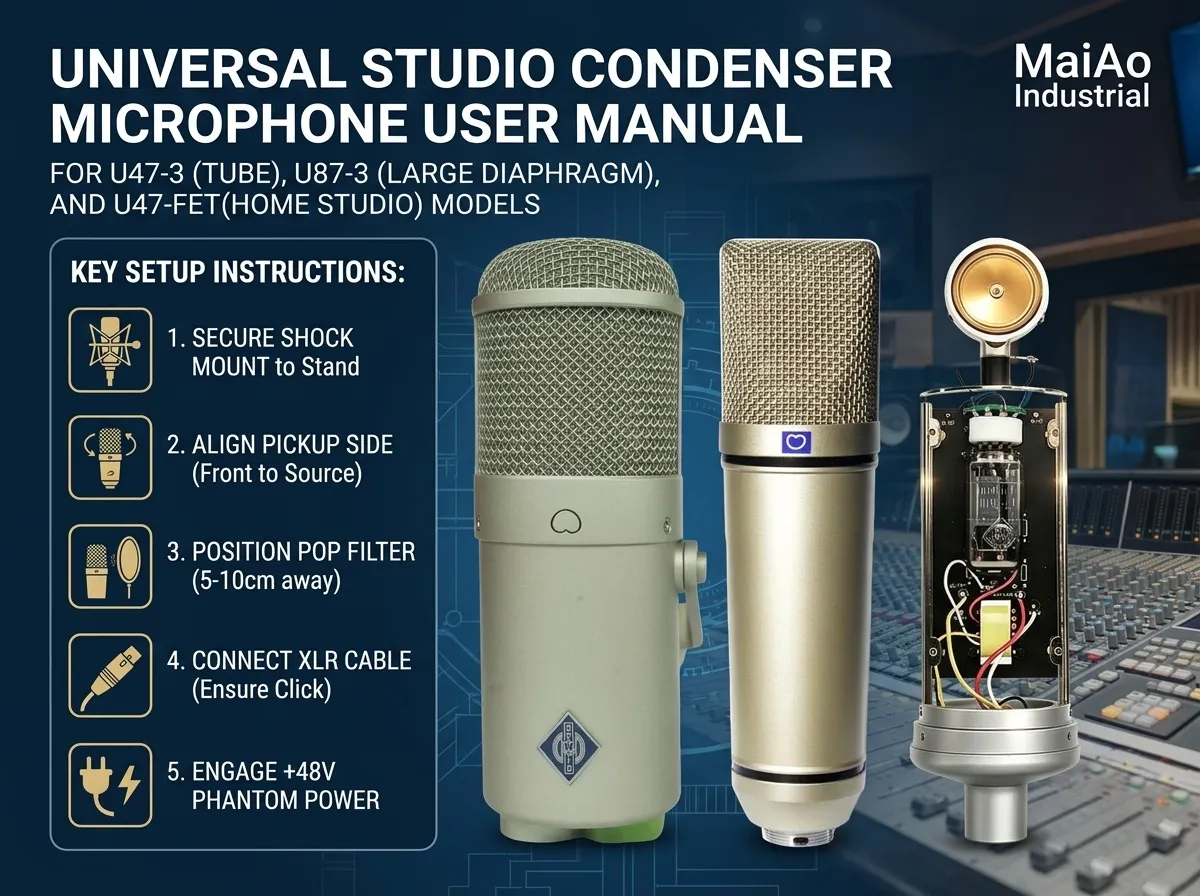
- Mount the Shock Mount Securely: Attach the custom shock mount to your microphone boom arm or floor stand. Tighten the side locking knob securely. Ensure the shock mount faces upward with the bottom retaining nut pointing downward to keep the microphone safe from accidental slipping.
- Align the Pickup Front: Locate the front of the microphone—identified by the product model branding and polar pattern indicator. Insert the microphone into the shock mount (compatible with models like the U87-3 Condenser Microphone or U47-3 Tube Model), align the front directly facing the sound source (singer or instrument), and tighten the clamp.
- Position the Pop Filter: Place a studio pop filter approximately 5 to 10 cm (2 to 4 inches) away from the microphone capsule. This filters vocal plosives (“p” and “b” pops) without compromising high-frequency sound clarity.
- Connect the XLR Cable: Connect a professional 3-pin XLR audio cable to the bottom connector of the microphone until it clicks into place. Connect the other end into your audio interface, microphone preamp, or mixing console (e.g., when setting up your U47-FET Recording Microphone).
- Engage +48V Phantom Power: Double-check all connections, then switch on the +48V phantom power on your audio interface. Allow 3 to 5 seconds for the circuit to charge and stabilize before starting your recording session.
3. Maintenance & Care Guidelines
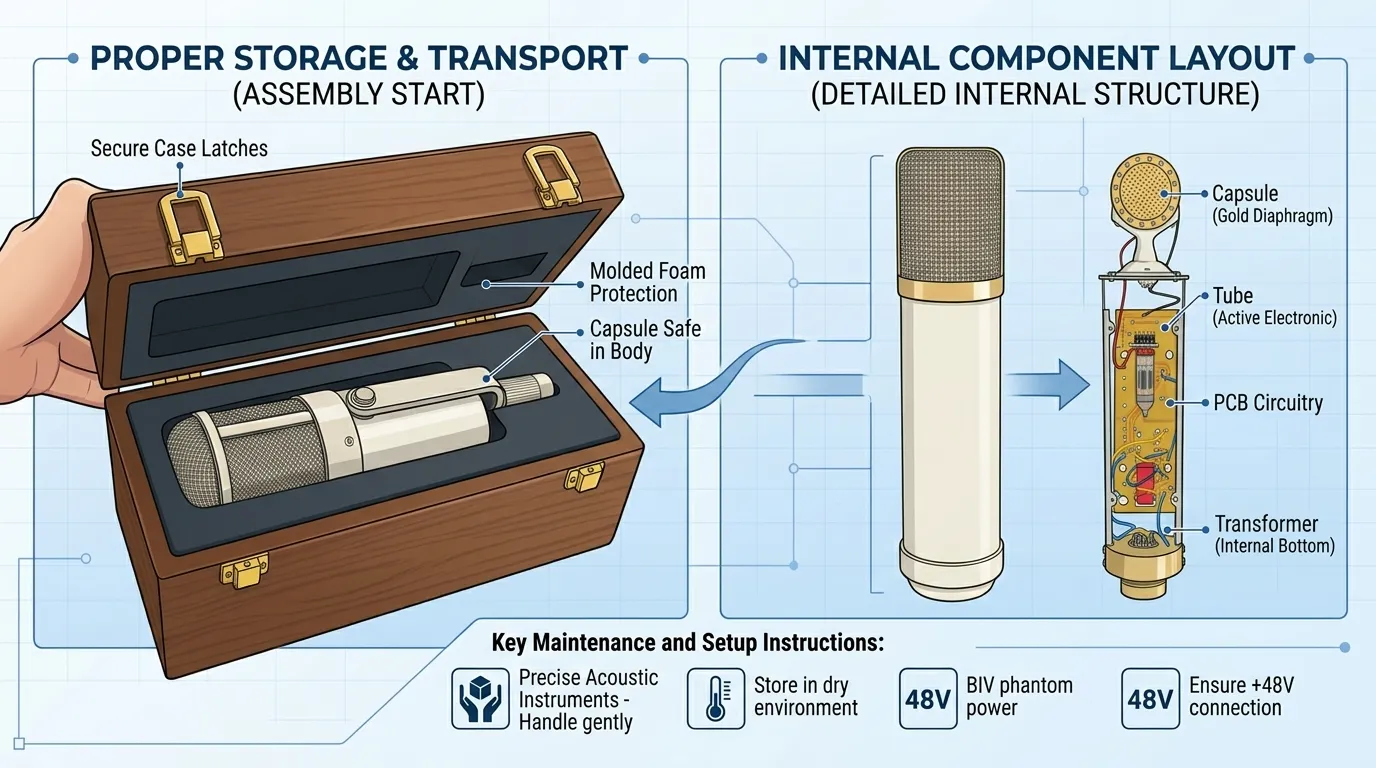
- Handle Precision Acoustics with Care: Microphones contain delicate gold-sputtered capsules. Avoid severe bumps, drops, or mechanical shocks. Store your microphone inside the supplied protective case when not in use.
- Grille & Capsule Cleaning: Do not attempt to disassemble the metal mesh grille or wash the internal capsule. To remove exterior dust, sweep gently with a clean, soft-bristled brush. Never allow liquids to enter the capsule chamber.
- Humidity & Storage Control: Always turn off +48V phantom power before disconnecting the cable. Keep your microphones stored in a dry, temperature-controlled environment to prevent moisture buildup from degrading capsule sensitivity.
- Shock Mount Elastic Maintenance: When replacing shock mount bands, maintain equal tension across all four suspension points to keep the microphone centered and balanced.