


Blog
Telefunken C12 vs. DIY C12 Microphone Body Kit: Differences & Assembly Guide

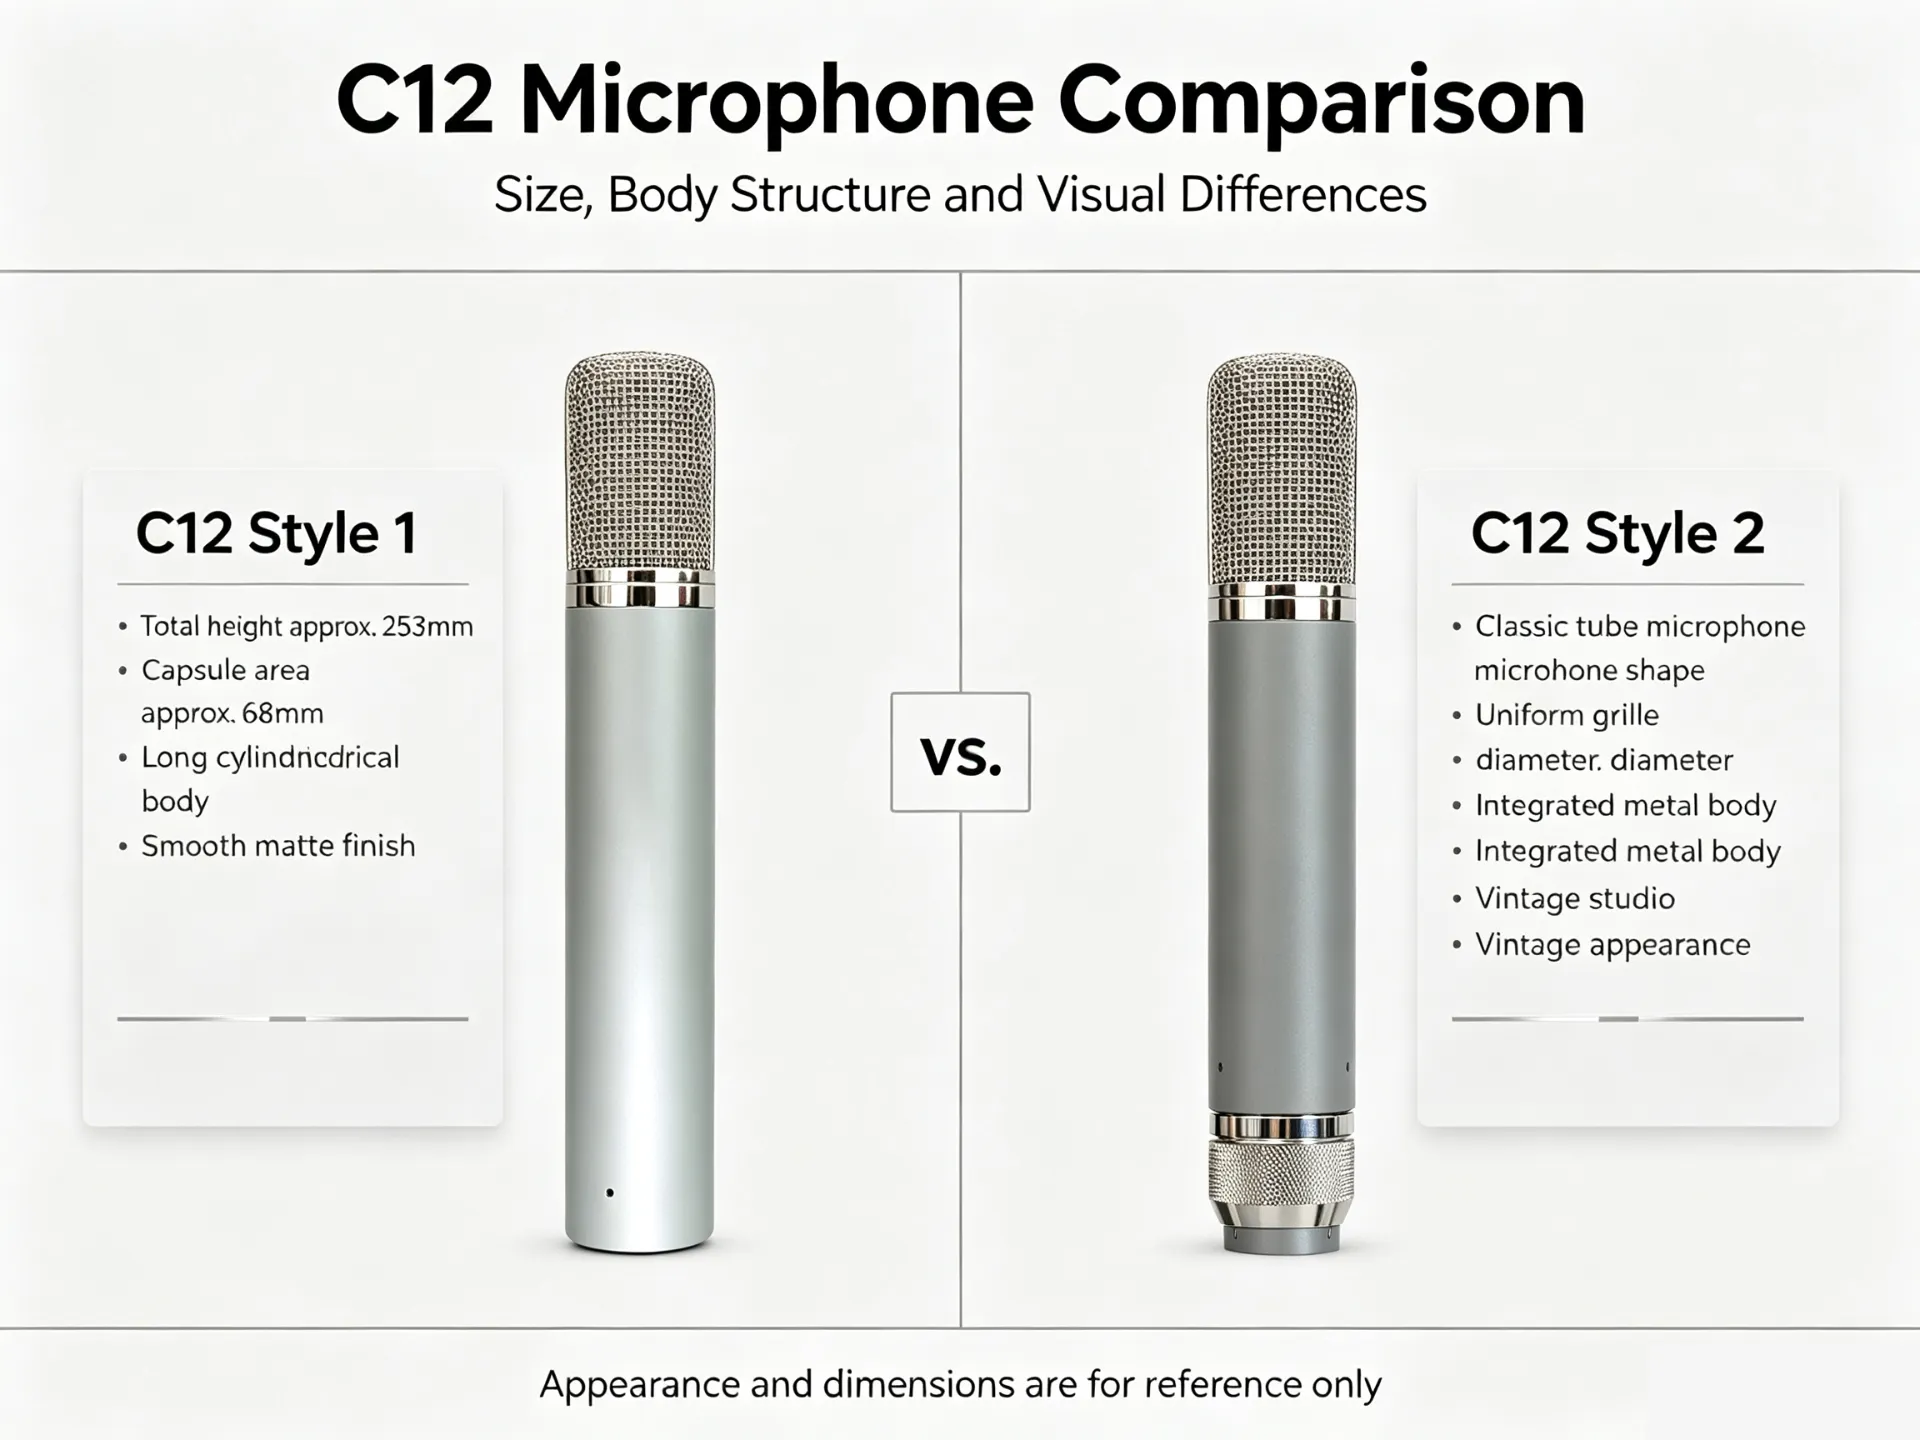
A detailed comparison of dimensions, brass housing specs, open-frame structure, and step-by-step DIY tube mic building tips.
For studio engineers, vintage microphone collectors, and DIY audio builders, the legendary Telefunken C12 tube condenser microphone represents the pinnacle of vocal recording gear. Original vintage Telefunken/AKG C12 units and premium modern reissues command high investment, leading many builders to opt for custom C12-style DIY microphone body builds and housing upgrades.
If you are sourcing parts for a C12-style DIY tube microphone project, custom housing swap, or studio mic build, understanding the dimensional and structural nuances between official factory units and aftermarket DIY microphone body kits is critical. Below is a detailed breakdown comparing the physical specifications, construction materials, included hardware, and DIY assembly tips for our custom C12 microphone shell package.
Telefunken C12 vs. DIY C12 Style Body Kit: Quick Comparison
| Feature / Specification | Telefunken C12 (Official Reissue) | Custom C12-Style DIY Body Kit |
|---|---|---|
| Primary Application | Complete High-End Vintage Tube Mic | DIY Kit, Custom Build & Shell Replacement |
| Body Dimensions | 250 mm (H) x 42 mm (D) | 253 mm (H) x 41.5 mm (D) |
| Total Weight | 567 g (complete assembled mic) | 542 g (empty body housing & hardware) |
| Body Tube Material | Brass Body Tube | Solid Brass Body Tube |
| Headbasket Material | Dual-Mesh Mesh Grille | High-Durability Steel Mesh Grille |
| Chassis Architecture | Integrated Cylindrical Body Design | Open Frame Structure (Easy Mounting Access) |
Key Material & Structural Differences
1. High-Grade Metal Construction (Brass Body & Steel Headbasket)
Material density and acoustic shielding play a huge role in microphone resonance and RF noise suppression:
- Telefunken C12: Built using classic brass body architecture with gold/chrome accents and vintage-spec mesh grillwork.
- DIY C12 Style Kit: Features a high-precision solid brass body tube combined with a durable steel headbasket grille. This provides robust structural integrity and excellent RF noise rejection while maintaining classic tactile weight.
2. Open Frame Chassis vs. Factory Cylindrical Shell
Workability during internal component soldering and installation differs between pre-built factory mics and DIY kits:
- Telefunken C12: Factory-assembled around exact proprietary circuit boards, capsule mounts, and high-voltage transformers.
- DIY C12 Body Kit: Engineered with an Open Frame Structure that splits down to a central chassis framework. This layout allows builders full 360-degree clearance for soldering point-to-point wiring, mounting tube sockets, and aligning transformer components.
3. Precise Dimensions & Hardware Weight
Evaluating physical dimensions ensures your custom circuit boards and capsule shock mounts will align correctly:
- Dimensions: The official Telefunken C12 measures 250 mm x 42 mm. Our DIY C12 shell measures 253 mm in height with an outer diameter of 41.5 mm (D41.5 * 253 mm).
- Hardware Weight: The raw, empty shell kit with all structural mounting hardware weighs 542 g, delivering authentic heavy-duty studio weight.
What’s Included in the DIY C12 Microphone Package?
Our complete C12 DIY body housing kit provides all essential structural hardware required to assemble a tube condenser microphone:
- Microphone Main Body & Headbasket: Premium steel mesh headbasket coupled with a solid brass cylindrical body tube.
- Dedicated Swivel Mount Adapter: Integrated mounting base featuring an angle-adjustment screw knob for precise mic positioning.
- Bottom Threaded Locking Collar: Threaded base lock ring engineered with knurled anti-slip texture for effortless handling.
- Multi-Pin Aviation Socket / Insert: Dedicated tube mic multi-pin connector insert equipped with gold-plated pins for maximum signal integrity.
- Metal Cable Strain Relief Sleeve: Protective metal tail-sleeve designed to prevent wire wear at the cable entry point.
- Complete Fastening Screw Pack: Full set of precision screws designated for internal frame assembly and outer casing retention.
DIY Assembly & Compatibility Guidelines
If you are purchasing this C12 microphone body shell for a custom DIY build, capsule replacement, or studio retrofitting, review these critical compatibility notes prior to starting:
1. Pre-Assembly & Clearance Verification
Ensure internal component dimensions match the housing specs before soldering:
- Confirm that your CK12-style capsule mount fits the steel headbasket geometry.
- Ensure your vacuum tube PCB or point-to-point turret board fits within the internal frame height limit and 41.5 mm diameter shell clearance.
2. High-Voltage Wiring & Grounding Safety
Tube condenser microphones utilize high plate (B+) voltages supplied by an external PSU:
- Strictly adhere to your tube mic schematic during wiring and ensure adequate clearance between high-voltage leads and the metal chassis.
- Ensure solid ground electrical contact between the internal circuit, chassis frame, and outer brass tube to eliminate 50/60Hz ground hum and electromagnetic interference (EMI).
3. Acoustic Isolation & Resonance Tuning
To eliminate unwanted body vibrations during vocal tracking:
- Employ proper rubber or silicone dampeners when mounting the capsule pillar to the frame.
- Secure all chassis structural screws firmly to prevent mechanical resonance inside the hollow body tube under high sound pressure levels (SPL).
Conclusion
Whether you are replicating vintage studio tone or constructing a custom DIY tube condenser mic, selecting high-quality housing is vital for shielding and longevity. Our brass-and-steel C12-style body kit provides an open-frame platform engineered for seamless DIY component installation.
Interested in bulk ordering or custom microphone parts customization? Contact our engineering team today for technical support, wholesale quotes, and OEM options.
