

Blog
AKG C12 VR vs. DIY C12 Microphone Body Kit: Key Differences & Assembly Guide

A complete structural comparison, hardware specification breakdown, and step-by-step DIY tube mic build guidelines.
For audio engineers, DIY microphone builders, and studio gear enthusiasts, the vintage AKG C12 and its official re-issue, the AKG C12 VR, are legendary tube condenser microphones. However, original units and official reissues can cost thousands of dollars, making DIY microphone builds and body replacements an increasingly popular alternative.
If you are planning a C12-style DIY tube microphone build, custom upgrade, or housing replacement, understanding the structural differences between official factory models and custom DIY microphone body kits is critical. In this article, we compare the physical specifications, body design, included hardware, and assembly guide for our C12-style DIY microphone body kit.
AKG C12 VR vs. DIY C12 Style Body Kit: Quick Comparison
| Feature / Specification | AKG C12 VR (Original / Official) | Custom C12-Style DIY Body Kit |
|---|---|---|
| Official Purpose | Complete High-End Tube Condenser Mic | DIY Kit, Custom Build & Body Replacement |
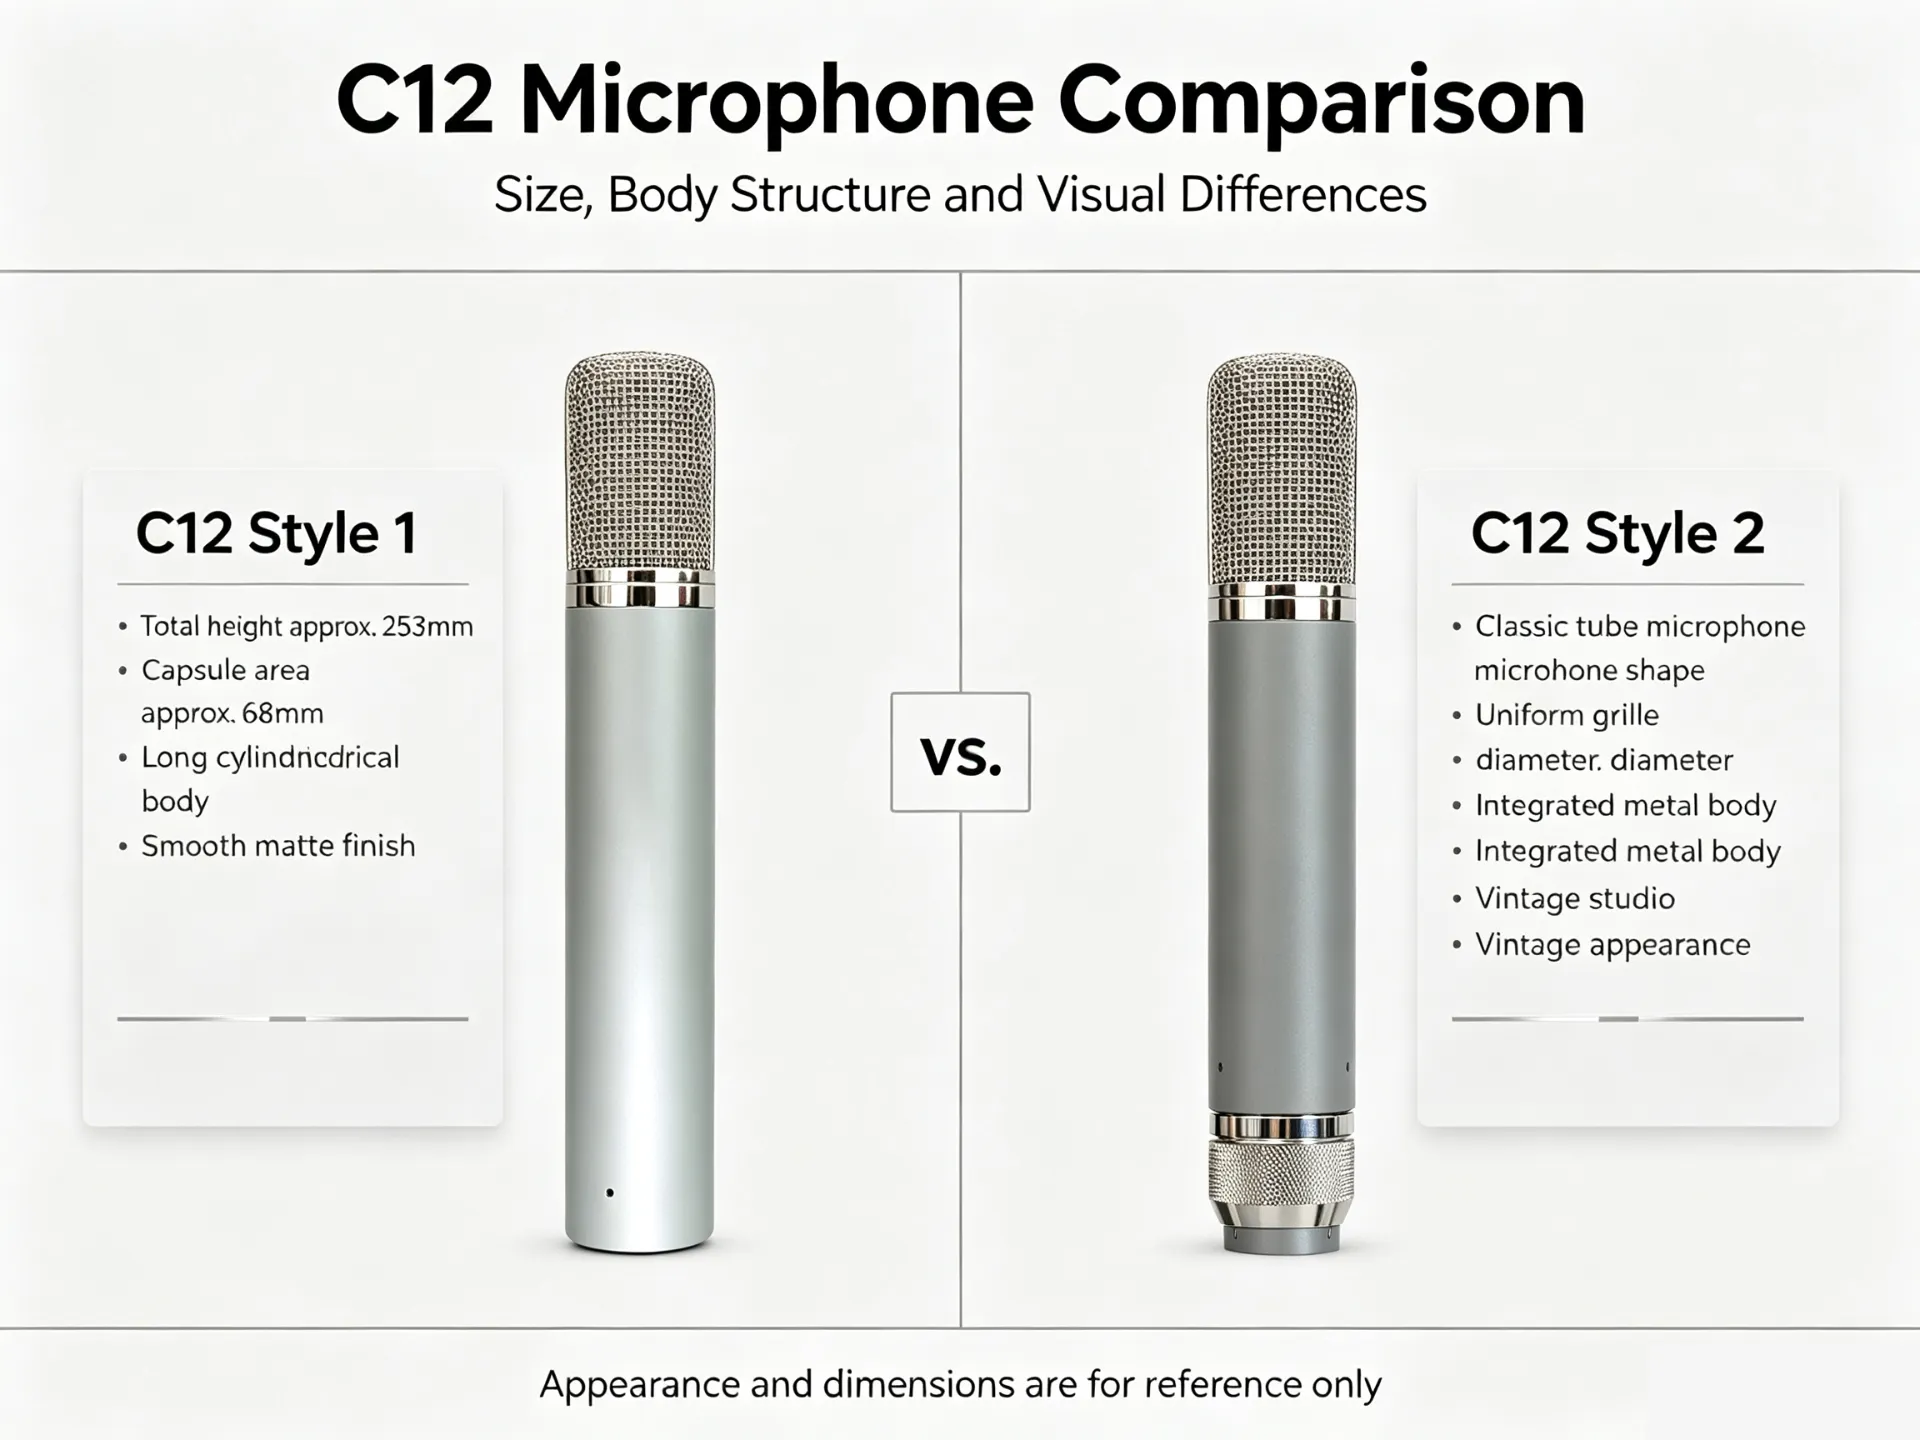
| Body Dimensions | 225 mm (H) x 42 mm (D) | 230 mm (H) x 41.5 mm (D) |
| Total Weight | 680 g (complete assembled mic) | 542 g (empty body kit & hardware) |
| Exterior Finish & Color | Green / Gold Finish | Matte Silver / Chrome Retro Finish |
| Body Material | Brass Body & Gold Grille | Iron / Steel Body with Metal Grille |
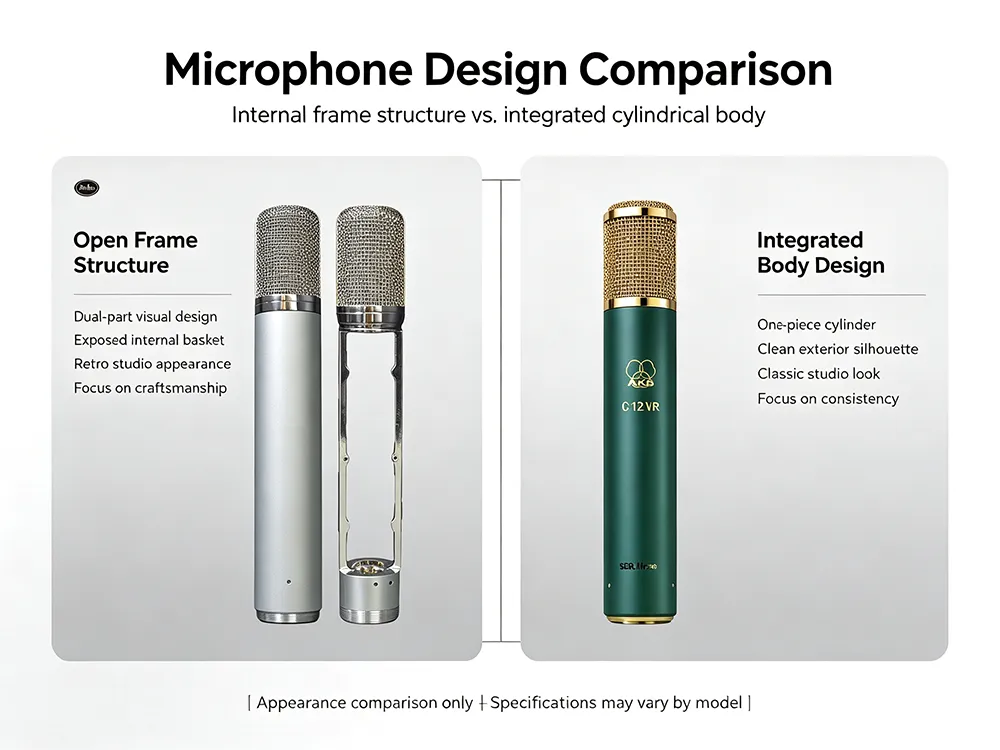
| Internal Architecture | Integrated Cylindrical Body Design | Open Frame Structure (Dual-part Visual Design) |
Key Structural & Material Differences
1. Internal Open Frame Structure vs. Integrated Cylindrical Design
One of the biggest functional differences in our DIY C12 body design is the internal mounting architecture:
- AKG C12 VR: Features an integrated cylindrical exterior silhouette designed for factory-assembled 6072A tube circuits.
- DIY C12 Style Body Kit: Features an Open Frame Structure. The internal chassis detaches into a rigid dual-part frame, allowing builders full 360-degree access when mounting PCB boards, tube sockets, and capsule pillars. This exposed internal frame design significantly simplifies soldering and component positioning.
2. Dimensions, Weight & Materials
Our custom body is engineered specifically for DIY builders who need sturdy housing with standard component clearance:
- Height & Diameter: While the AKG C12 VR stands at 225 mm x 42 mm, our DIY body measures 230 mm in length with a 41.5 mm outer diameter.
- Kit Weight: The empty metal shell and included mounting hardware weigh 542g, providing a solid, premium feel in hand while remaining lightweight enough for studio boom arms.
- Material & Finish: Built with robust iron/steel construction, offering excellent structural rigidity for studio environments.
What’s Included in the DIY C12 Body Kit?
Our complete C12 DIY microphone shell package includes all essential mechanical hardware required to house your capsule and circuit board:
- Microphone Main Body & Grille: Includes dual-layer metal mesh headbasket and cylindrical lower tube.
- Swivel Mount Adapter: Heavy-duty mounting adapter equipped with an angle-adjustment tightening knob screw.
- Bottom Locking Collar: Threaded base ring featuring knurled anti-slip texture for quick fastening.
- Multi-Pin Aviation Connector Insert: Dedicated 7-pin / multi-pin XLR connector insert with gold-plated pins for tube mic power supplies.
- Cable Strain Relief Sleeve: Metal protective sleeve designed to protect cable entry joints.
- Complete Assembly Screws Pack: Full set of mounting screws for internal chassis component mounting and outer shell fastening.
DIY Tube Microphone Assembly & Compatibility Guide
If you are purchasing this C12 microphone body shell for a custom DIY project, capsule replacement, or tube mic repair, please review the following guidelines before starting your build:
1. Pre-Assembly & Component Matching
Before assembly, verify that all internal components fit the 41.5mm inner clearance of the housing:
- Ensure your capsule mount is compatible with C12/CK12 style capsules (e.g., 34mm edge-terminated capsules).
- Verify that your vacuum tube PCB board and transformer dimensions fit within the 230mm height limit of the internal frame.
2. Wiring, High Voltage & Grounding Safety
Tube condenser microphones operate with high plate voltages (B+ voltage supply):
- Strictly follow your circuit schematic during soldering.
- Ensure proper wire insulation around tube sockets and transformers.
- Ensure the internal frame is securely grounded to the metal outer shell to prevent 50/60Hz hum, radio interference (RFI), and baseline noise.
3. Shock Mounting & Resonance Control
To achieve pristine audio performance in studio recordings:
- Use proper shock-isolation mounts for the CK12 capsule inside the headbasket.
- Check all assembly screws on the open frame structure to ensure tight mechanical connections, preventing body resonance or mechanical noise during high-SPL vocal tracking.
Final Thoughts
Whether you are building a custom tube condenser microphone from scratch or repairing vintage-style gear, selecting the right body kit is essential for electrical shielding and long-term durability. Our C12-style DIY body kit offers an accessible, easy-to-work-with open-frame design for builders worldwide.
Looking for wholesale DIY microphone parts or custom microphone body kits? Contact our technical team today for specifications, bulk pricing, and custom branding options.